Add a vendor
- Open Vendors.
- Choose Add vendor.
- Pick the Venue, then set the vendor details and Save vendor.
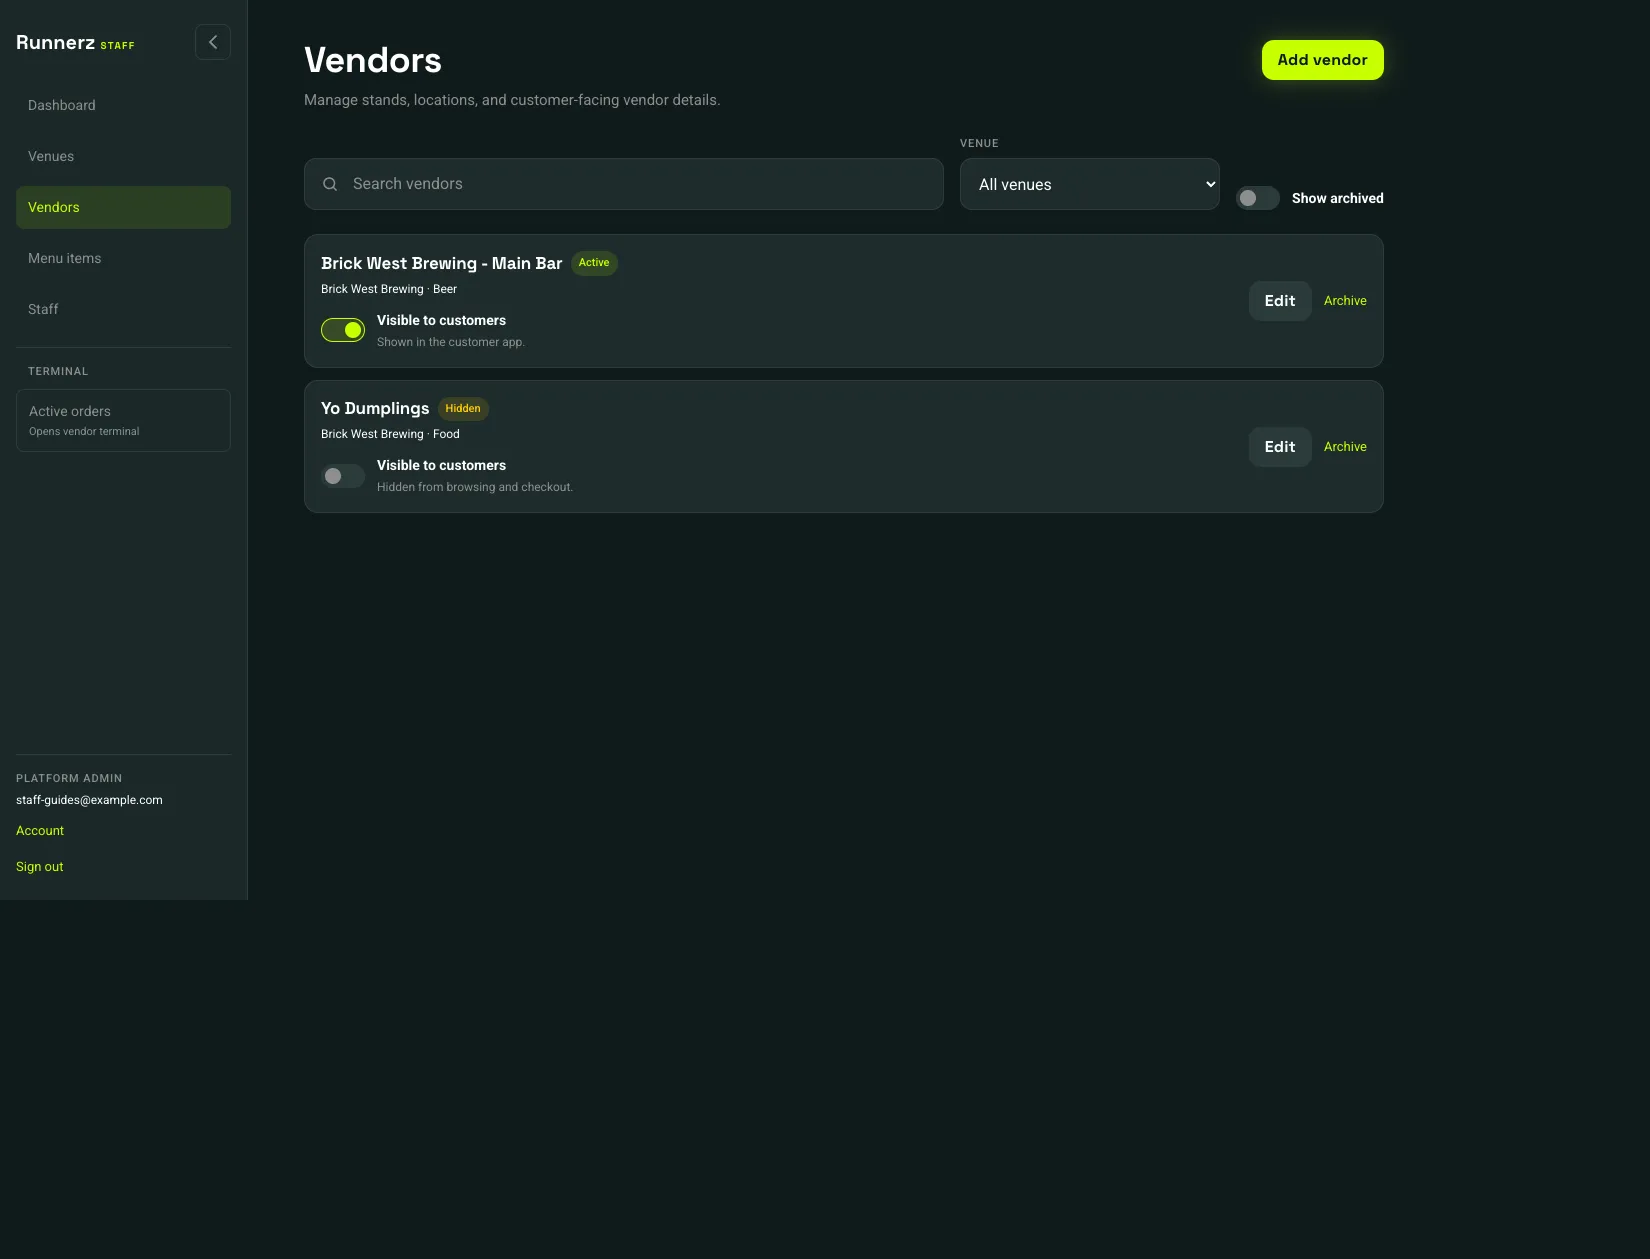 Add vendor: 1Visible to customers: 2Hidden from browsing and checkout: 3
- Add vendor
- Visible to customers
- Hidden from browsing and checkout
Visible to customers is on the vendors list, not inside the editor. On means Shown in the customer app. Off means Hidden from browsing and checkout, and the card shows Hidden. Hiding a vendor does not pause the kitchen. Pausing new tickets is a terminal setting. Taking one item off during service is also a terminal setting. See Mark an item unavailable.
The vendor editor has Settings, Payments, and Terminal once the vendor exists. A stadium or theater also has Runner pool. A bar does not.
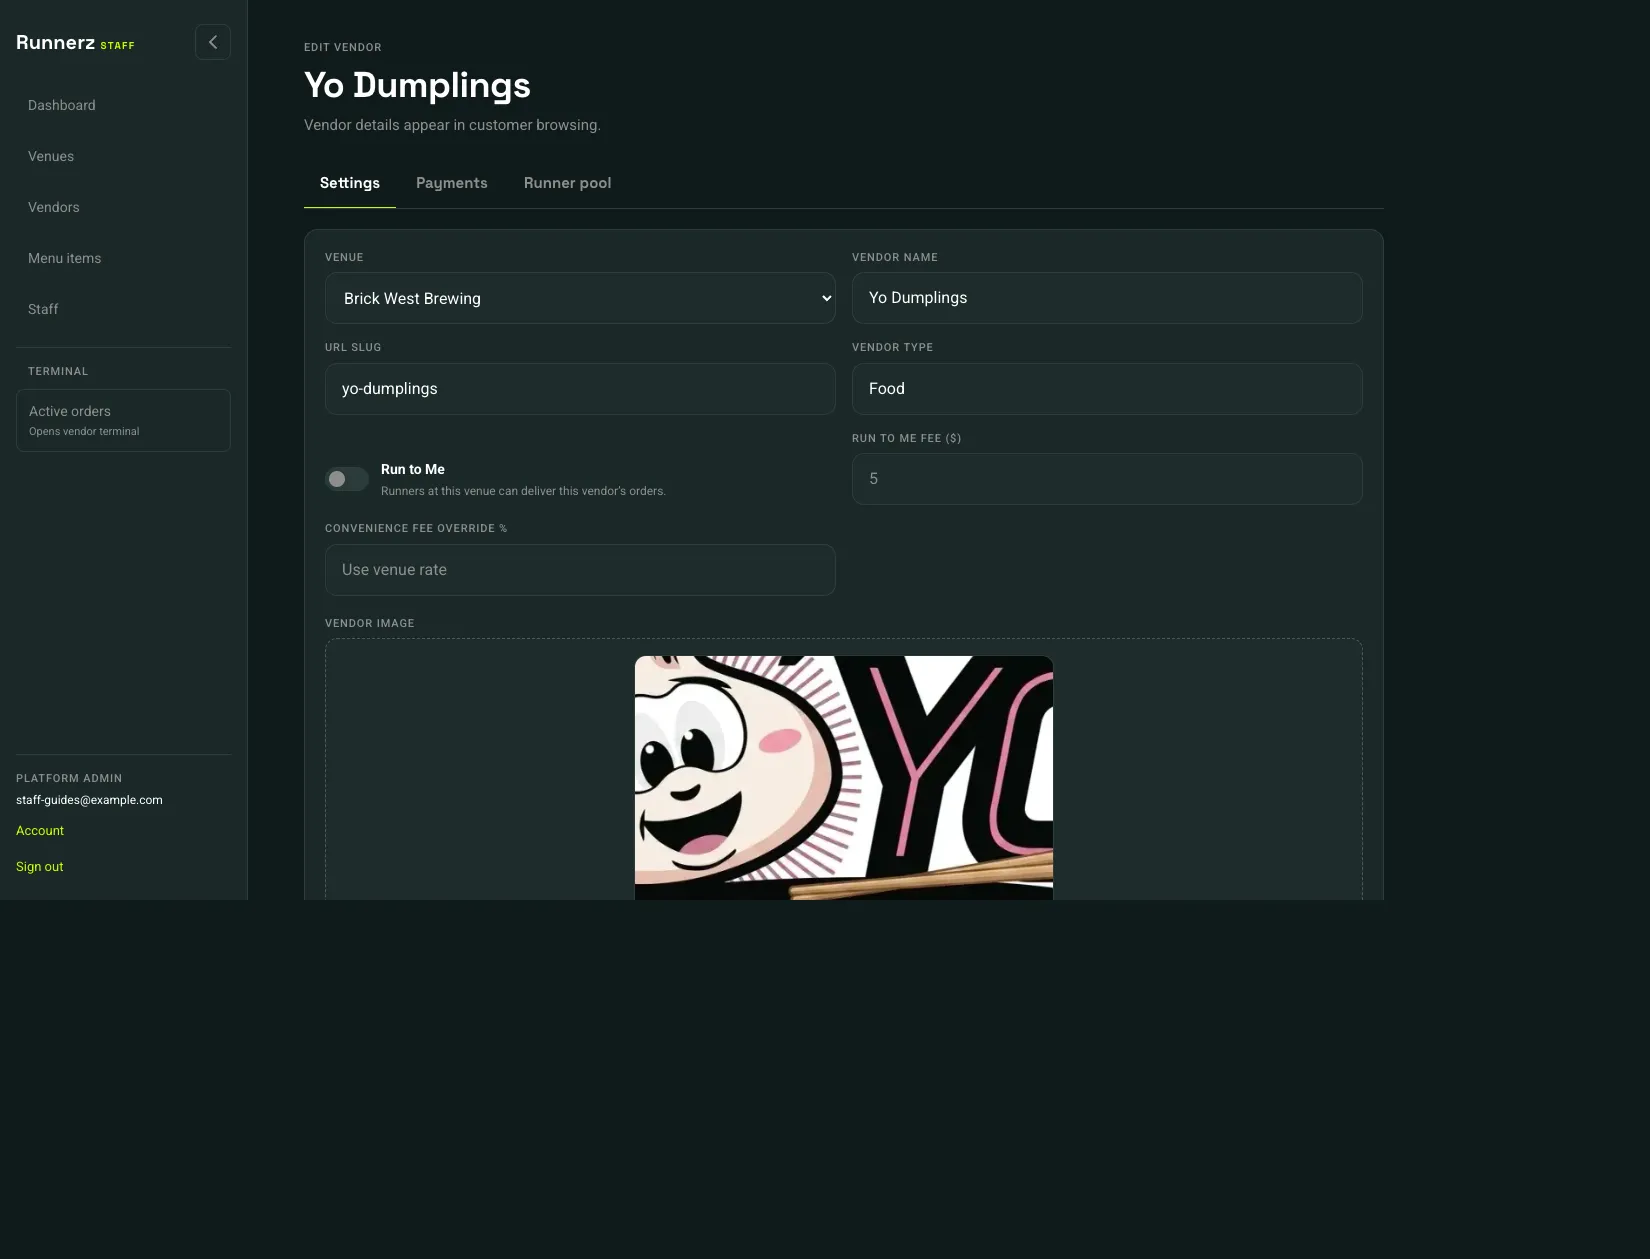 Settings: 1Run to Me: 2Run to Me fee ($): 3
- Settings
- Run to Me
- Run to Me fee ($)
On Settings:
- Vendor name, URL slug, and Vendor type
- Run to Me lets runners at this venue deliver the vendor’s orders. At a bar, the description says the order goes to the customer’s table.
- Run to Me fee ($) is a whole-dollar delivery fee. At a bar it can be $0.
- Pickup tips and Run to Me tips let customers add a tip on that kind of order
- Banner and Logo
- Save vendor
A platform admin can also set Convenience fee override %. Leave it on Use venue rate unless this vendor should differ from the venue.
On Terminal, the shared iPad unlocks with a 4-digit code and opens this vendor’s queue. It does not open the admin portal.
- Choose Create terminal code.
- Write the code down. It is shown once.
- On the iPad, choose Unlock terminal and enter that code.
Rotate code replaces it immediately. The old code stops working. Disable code stops the iPad from unlocking.